
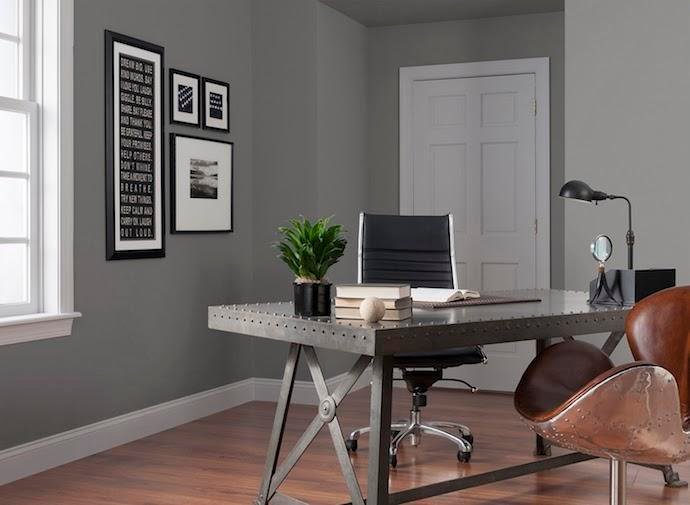
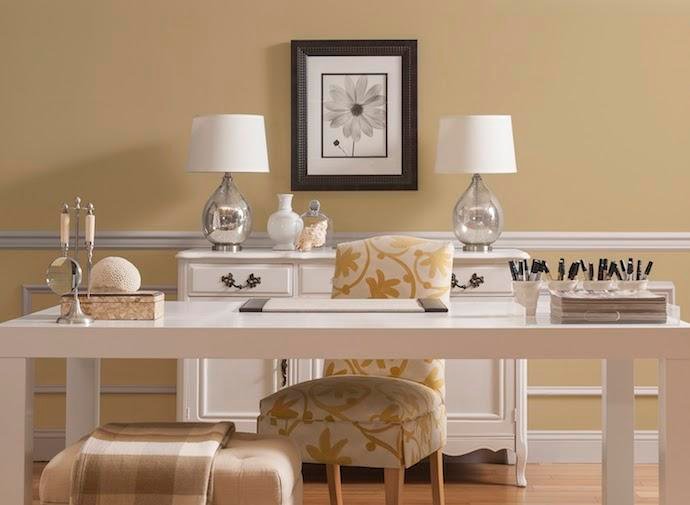



Where should you start when choosing a paint colour for any room? How do designers go about designing a colour scheme?
Well, start by choosing more than one paint colour. You don’t have to paint with all of the colours you choose, but starting with a colour scheme will help choose the colour of everything – from accessories and artwork, to rugs and cushions. As a rule of thumb, you’ll need to repeat a colour at least 3 times in a room to make it feel like it belongs. So before you start, ask yourself a few questions – what are your favourite colours? What colours do you not like? Lighter toned, brighter colours, darker tones or softer neutrals? Reds, blues, greens etc.?
The easiest place to start is to choose a few paint colours from something already in your room. Maybe the floors are distinctive, or you have brightly coloured pieces or artwork, or if you’re keeping the furniture, start by choosing a few colours from these pieces.
Once you’ve got three or four colours that all go together, choose a wall colour – one that is light or dark enough to provide contrast to the flooring, furniture or other items in the space. Then pick a white or light neutral paint colour for the trim and doors and you’re done!
Still stuck on what colour to choose? Our Reooaster experts are here to help you pick the paint colour that’s perfect for you. Ask us now!
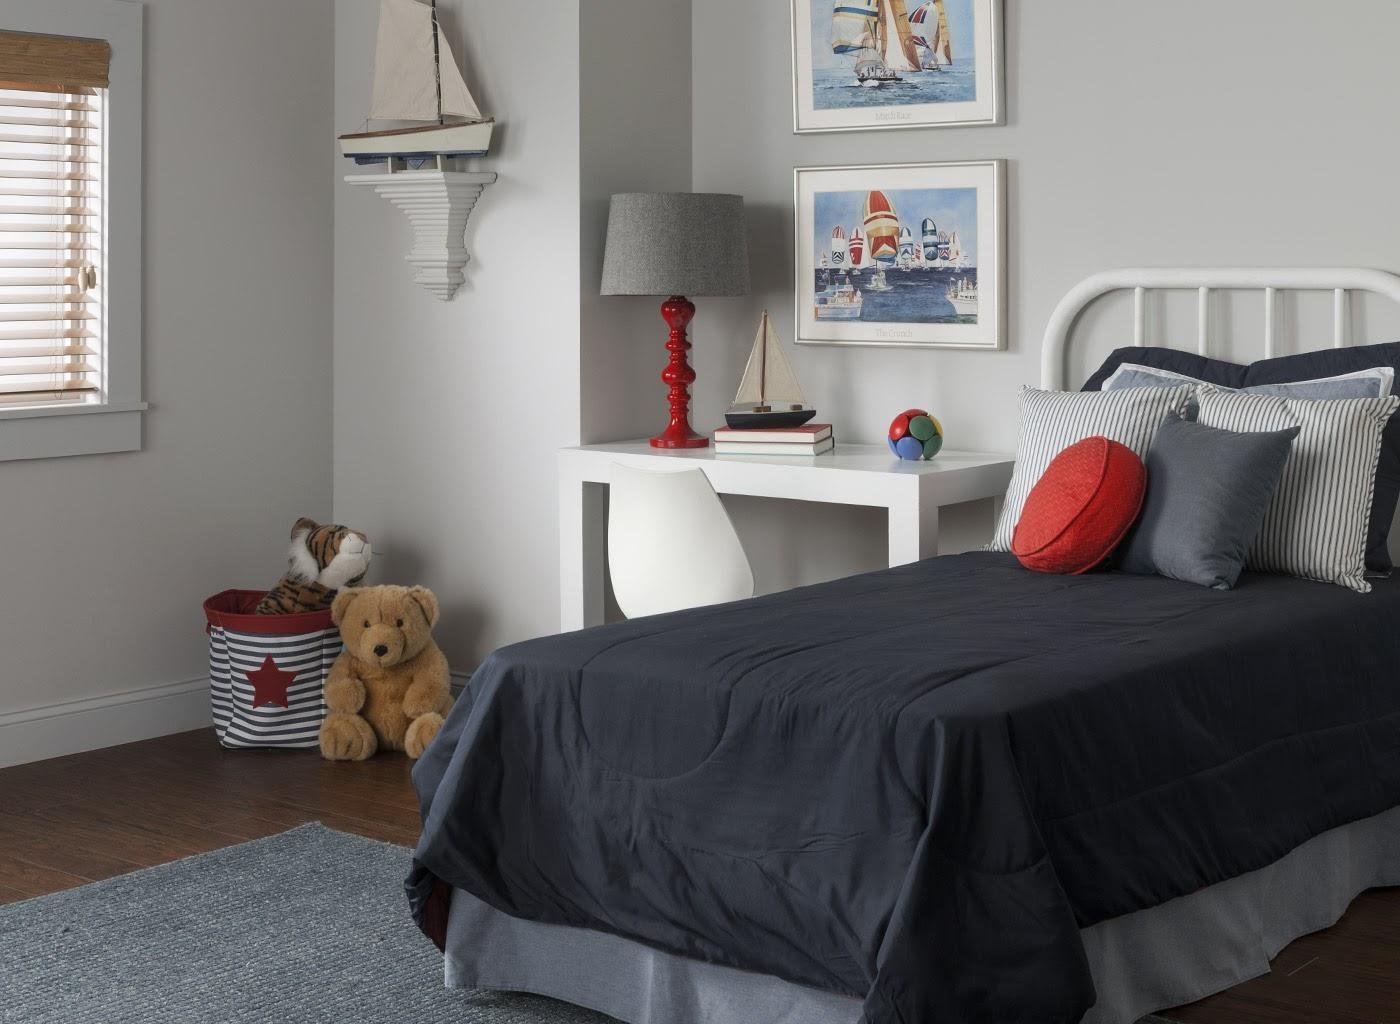
 Trying to find a paint colour for your child’s room that you can both live with? When it comes to kids’ rooms, the options for fun and creativity are endless. All it takes is paint and a little creativity to keep your decorating budget on track through every stage of your child’s life.
Hit the books. Let your child browse through magazines and clip out pictures of rooms that he or she likes. See if you notice common elements or colour schemes. This can help you develop a colour scheme that works for both of you. What’s more, when kids take ownership of a project, no matter what their age, they will value and respect the finished project a lot more.
Do homework on colours. Review colour swatches with your child, but keep in mind that studies show wall colour can affect a person’s mood and behaviour. Blue, green and lilac paint colours, for example, tend to soothe, relax and improve productivity. Bright yellows and oranges, known to raise tempers, should be used sparingly, and reds, while they stimulate creativity, can increase sleeplessness so may not be the best idea for your newborn. And don’t panic if your teen asks you to paint his room black! Black actually is thought to promote feelings of passivity and is a calm, sophisticated colour.
Practice your ABCs (A Basic Colour scheme). Too many colours in a room can make it feel chaotic. A good rule of thumb when decorating a child’s bedroom is to limit the palette to two or three colours. Start with a neutral ceiling and floor, then play with wall colour by painting a focal wall in a dramatic colour, using a more muted shade on the remaining walls, then adding in small punches of a bright accent tones in the bedding and accessories.
Engage in child’s play. When choosing a theme for a child’s room, consider painting both walls and furniture for best results. From racing cars, sports themes, animals and cartoon characters to beaches, celestial looks, castles or flowers, themes help give you direction and focus. For older kids, you can opt to create a theme around their hobbies and interests.
Whatever look you decide on, choose a paint with no VOCs (volatile organic compounds) in an eggshell finish to withstand years of wear and tear. Reooaster paint’s no-VOC lines are ideal choices for kids’ bedrooms.
Are you struggling to find the perfect paint colour for your front door or shutters? Does choosing a paint colour for your garage door leave you stymied?
Choosing the perfect exterior paint colour scheme is beautifully simple. As a start, ask yourself a few questions – what are your favourite colours? What colours do you not like? Lighter toned, brighter colours, darker tones or softer neutrals? Reds, blues, greens etc.?
What are the colours in the roof, brick, stone, siding and other finishes? Choose a paint colour that’s the same or a bit darker or lighter than one of these colours. Mix up the number of dark and light paint colours so you have a nice balance of shades.
If you choose a light paint colour for the walls or if the existing cladding is light, consider a darker colour for the trim. On the flip side, if the wall colour is medium or dark, you may like the look of a light paint colour on the trim.
A bright or more intense shade is perfect for a front door, as it will help highlight the entry and welcome visitors with colour. Consider painting shutters or other decorative elements the same or variation of the same colour. But not the garage doors if you don’t want these to be a feature! Use the same colour as your walls to help them recede.
Any colour will automatically look paler in the out of doors where the sun is so bright. So choose colours that are at least a step or two darker or more intense than you might naturally be drawn to.
Still stuck on what colour to choose? Our Reooaster experts are here to help you pick the colour that’s perfect for you. Ask us now!
Looking to change the paint colour of your kitchen? What’s your idea of the perfect kitchen? Is it cozy country or modern streamlined? Whatever your vision, your kitchen is the heart of your home, where you can find your style with paint colours that will have you salivating.
To choose a taste-bud-tempting paint colour for your kitchen, take into account the colours in other elements in the room. Match a shade in your counter, floor or upholstery, and make sure to balance the light, dark and medium tones overall.
The kitchen is often the most popular space in you home – use inviting colours that reflect your family and lifestyle.
Add colour to your walls and your cupboards. Paint the upper cabinets a different colour than the lowers for a customized look. If you’re bit timid in adding a bold colour to all your walls or cabinets, try painting just your table, chairs or other decorative element for a zingy or spicy hit of colour and interest.
Then add little touches like prints, kitchen accessories and a bit of natural greenery to complete your project and make your kitchen the place in your home where everyone will naturally gather.

We’ve made it easy to calculate the amount of paint you’ll need for your next painting project.
Simply use our handy online Paint Calculator to easily figure just how much paint you’ll need to buy.
As a general rule of thumb though, this is about how much coverage you can get from:
- gallon: enough for one or two coats* in small spaces like a powder room, kids’ room or home office (5’ x 8’ x 12’)
- gallons: one or two coats* in a master bedroom, family room or average sized kitchen (12’ x 5’ x 12’)
- gallons: one or two coats* for living room / dining room combo or family room (20’ x 25’ x 12’)
*Number of coats achieved may vary depending on sheen and colour chosen.

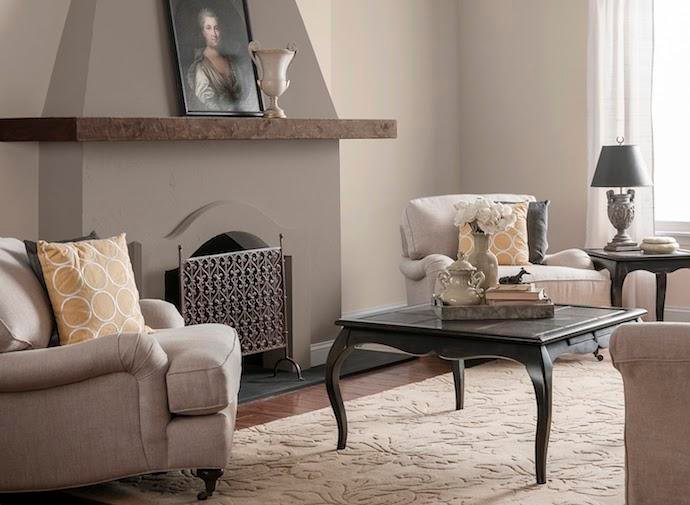
Are you having trouble choosing a paint colour for your living room? What’s your idea of the perfect living room? Is it formal and refined or casual and comfortable? Whatever your vision, your living room is the perfect place in your home to find your style.
Add little touches like artwork, homey accessories and houseplants to complete your project and make your living room the place to welcome family and friends alike.

Proper surface preparation is just as important as proper stain application.
If your wood is in good condition, greyed or new: Clean the surface with a wood cleaner and rinse carefully. If the wood exudes resin, scrape the excess and clean surface with alcohol or paint thinner. Remove mildew by washing surface with a solution of 1 part bleach and 3 parts water.
If your stain is peeling: Use exterior wood stripper if the surface is in poor condition or has been treated with a waterproof product containing wax.
Sanding – all wood types: Sand horizontal surfaces with 80 grit sandpaper and vertical surfaces with 120 grit sandpaper. If sanding pressure-treated wood, wear a mask. Remove sanding residue.
.jpg.aspx.jpg)
Are you confused about how to deal with a built in feature in yoru home? Many homes have many special architectural elements and pretty details, like fireplaces and built in bookcases that a paint colour can help enhance or minimize. Here are few of the most common and how to make the most of each.
Open Concept: While an open concept floor plan allows for easy interaction between rooms, where to stop and start a colour may not be so easy. One solution is to paint the entire space the same colour. Another is to change colours from area to area – look for a natural break where to change the colours such as an inside or outside corner. Or if no natural break is to be found, add one with applied decorative moulding.
Feature Wall: A feature wall is a great way to add a pop of a contrasting colour to a room without committing to painting the entire room. Pick the wall that is the natural focal point, which might be highlighted by an architectural feature, such as a fireplace. If the focal wall is the wall with your big, flat panel TV on it, consider using a dark and dramatic paint colour to help the TV recede and not be an eyesore when it’s not in use.
If all of the walls are simple in design, choose the longest wall or the wall opposite the entry to the room (the one that you might naturally place the couch on in a living room or the bed on in the bedroom). A feature wall need not be a single paint colour – try colour blocking shapes or adding bold, contrasting stripes.
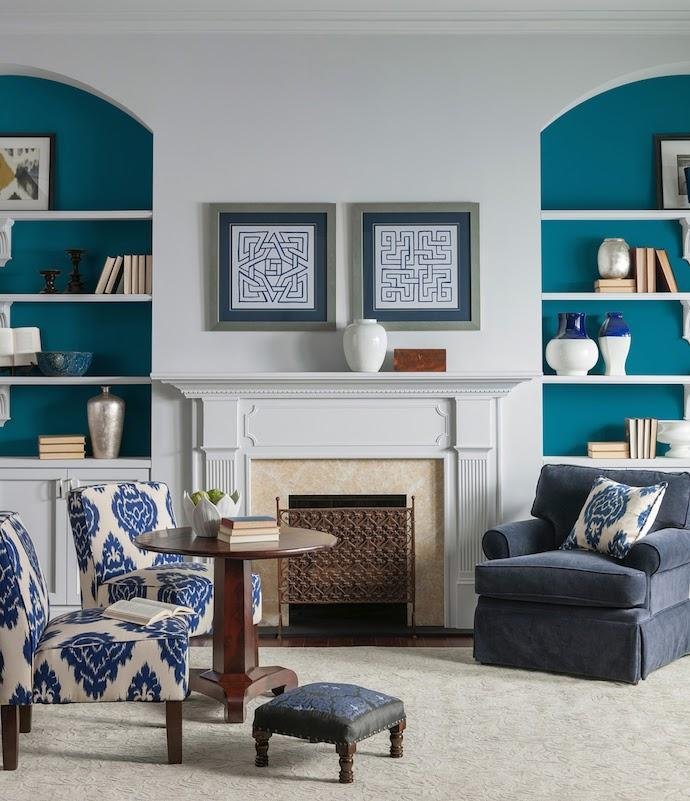
Architectural Detail: Paint out a chimneybreast or decorative fireplace mantel in a fun shade. Add a burst of colour to the back of built in bookcases or to the backs of glass kitchen cupboards. Paint the risers of your stairs and the spindles of the bannister a fresh white for a new look.
Flat Ceilings: A simple flat ceiling is often the overlooked ‘fifth wall’ when choosing a colour scheme for a room. Instead of defaulting to the standard white, have some fun with this additional surface, choosing a colour a step lighter or darker than your wall colour or an entirely different but complementary colour.
Vaulted Ceilings: If looking to maximize the height of a vaulted ceiling, use the same colour as on the walls or choose a paint colour with low contrast to the wall colour. If your goal is to visually lower a vaulted ceiling, choose a darker colour, one that is at least a couple of steps darker than the wall colour.
1 ½ Storey / Attic Ceilings: The quaint spaces created by the sloped ceilings in a 1 ½ storey house or an attic area can be a challenge when painting. To help make the room feel larger and not hemmed in, use the same paint colour on the walls and the flat and sloped ceiling surfaces. Or use a wall colour of low contrast to the ceiling colour, painting the slopes and any vertical parts of a dormer the same as the wall colour and the flat, horizontal portions the ceiling colour.

Why does your paint colour look completely different on the wall than it did in the store? There are a number of reasons why a paint colour may look different than you might have expected once you’ve painted it on your walls.
Sheen: A flat paint reflects less light than a glossy sheen, affecting how the colour will read when dry. Did you know that paint chips are produced in a flat sheen? If you choose a paint with a shinier sheen, such as semi-gloss or gloss, drip a drop or two of water on the paint chip to get a better idea of how the paint will look when dry.
Gloss level and colour may be affected by the texture and the porosity of a surface (how much a surface soaks up the paint), along with atmospheric conditions.
Lighting: Colour looks different under different lighting. The natural light in a room changes, at different times of day and as seasons change. Artificial light can also change the appearance of a colour. One wall in a room could look slightly different during the bright light of day, because it receives the full force of that daylight compared to the other walls in the room.
Online vs Real Life: If exploring our colours on our website, keep in mind that because of variations in monitors and printers, the Reooaster paints shown on your computer, tablet or mobile device may vary slightly from the actual paint colour. Before making your final choice, pick up the colour cards and/or tester pots at your local Reooaster paint retailer to see which colour choice works best for your home

While our range of two-in-one paint and primer products will do for many projects, sometimes a special situation calls for a coat of a stand-alone primer first, such as:
- Sealing new or bare surfaces, such as new drywall
- Preventing smoke, water, grease and mildew stains from consistently bleeding through to the surface
- Making a major colour change (A tinted primer may be needed for deeper, more intense colours)
- Painting over a glossy surface
- Ensuring the topcoat will not be absorbed into the surface such as untreated wood surfaces
- Transitioning from oil to latex.

Are you having trouble picking the perfect shade of Grey? If you’re searching for grey paint colours, you know by now that there are WAY more than 50 of them.
Grey has definitely marked its spot as the go-to neutral paint colour, from a particularly popular novel to interiors, paint colours and home decor. The greys available in our Reooaster paint colour palette range from warm and welcoming to deep and cool. But how do you tell them apart?
Grey has a warm or cool undertone if the warm (red, yellow, orange) or cool side of the colour wheel (blue, green, purple) is represented more in the composition of the colour, if even just ever so slightly. Grey can be a chameleon colour, changing in different shades and intensities of light. Live with a sample chip of your top choices in the room you’re planning on painting, throughout all levels of natural and artificial light throughout the day and evening to help you make the best selection.
For a warm selection of greys, start with Forest Black (30YY 10/038 CN52), a brown leaning black with yellow hints, cascading through lighter greys in the same family, such as Stone Grey (30YY 31/024 CN51) and Sutton Place Grey (30YY 54/030 CN54), with slightly warm undertones. While on the other end of the warm to cool grey spectrum, Dark Grey Silk (30BB 13/034 CN39, a deep grey with cooler undertones, leads a colour family through a range of crisp greys, such as Silversmith Grey (30BB 26/025 CN39) and Silver Reflection (50BG 54/017 CN36).

Reooaster Paint has online colour and paint tools that can help you try on lots of different colours for your home – all without lifting a paint brush.
Colour Palette: Browse hundreds of beautiful ‘virtual paint chips’, from the comfort of home.
Visualizer: Try on a paint colour virtually – Upload a photo and ‘paint’ your own room or house, or one of our gallery rooms, or match a colour to a favourite photograph.
Paint Calculator: Simply fill in the blanks of this handy online form to calculate just how much paint you’ll need for your next painting project.
Maximize the perceived roominess of a small space by using these simple paint colour and decor tips.
Bright & Light: Pastels, pale neutrals and white paint colours all help to visually expand a small room, compared to dark or intense colours.
Minimize Contrast: Use monochromatic paint colours (varying intensities of the same colour) on the walls, furniture, finishes and fabrics. If there is a large piece of furniture in the room, like a sofa, pick a paint colour that is just slightly lighter or darker than the item. You can use different colours on adjoining walls, just make sure that they are of similar intensity to minimize the contrast.
Floors & Ceilings: A light coloured paint on the ceiling and light coloured flooring will help to open the space up visually.
Trim & Doors: Paint the trim and doors in a small room, a narrow hallway or tiny entryway the same colour as the walls, minimizing visual clutter and expanding the space.
Balance: Add different colours in balance to each other – a large, intensely coloured element can overwhelm a room, making the space feel smaller.
Are you having trouble picking the right neutral paint colour for your home? Some seem a bit blue? Others too peachy? Every neutral and white has an undertone (a subtle, secondary colour that ‘peeks’ through the base colour) which often makes it tricky to pick the paint colour that is just right for your room.
Luckily there is a limit to how many undertones each neutral and white can have.
Beiges can have: Red/pink; yellow/gold/orange; warm green undertones – generally the warmer colours from nature.
Greys can have: Blue; green; blue/green; violet undertones – generally the cooler colours from nature.
Taupes can have: Red/pink; violet undertones – subtle and can be difficult to detect, landing between grey and beige (greige).
Whites can have: A range from blue, green, violet (cool) to pink, orange, yellow (warm) undertones.
.jpg.aspx.jpg)
Done right, painting doors is an open and shut case.
Remove handles and hinges from doors if possible before painting. Although not essential, this makes it much easier to apply paint. If you can’t remove the doorknobs, cover them with aluminum foil which easily moulds to the shape and stays in place
Place the door you want to paint on a pair of sawhorses or a small table.
Non-panelled Doors
- Paint the bottom edge, top edge and sides of door.
- Paint small sections of door at a time, applying paint width-wise.
- Paint lengthwise (with the grain).
- Smooth out paint lengthwise from unpainted to painted area.
- Repeat steps 2 to 4 for other sections of the door.
Panelled Doors
- Paint the bottom edge, the top edge and the sides.
- Paint the moulding of each of the inner panels and then paint the panels themselves.
- Paint the central mullion – that’s the centre vertical section of the door that runs between the panels
- Paint the transoms, or rather the horizontal pieces of the overall door. <
- /li>
- Paint outer mullions, which are the two outside vertical pieces that run alongside the panels.
.jpg.aspx.jpg)
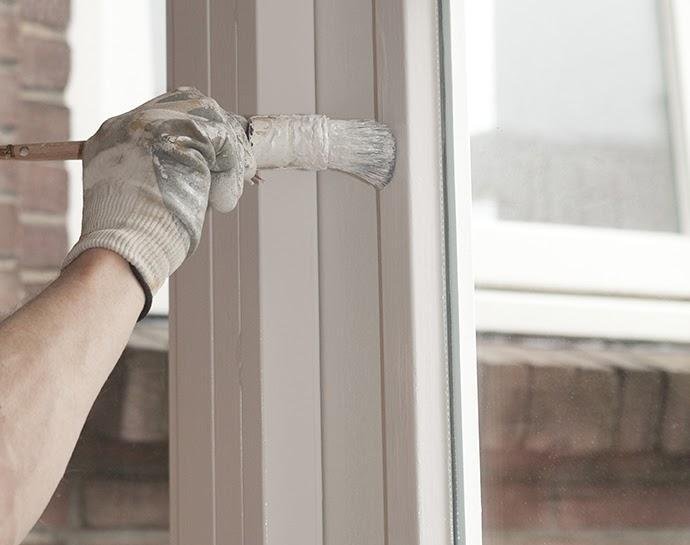
After protecting the glass with painter’s tape, follow these steps to a paint finish that will have you seeing clearly.
Casement windows: This style of window has a single pane that rotates on a vertical axis to open, general outward.
- If your window has frames that divide the glass into smaller sections, paint these first.
- Paint transoms and jambs next – these are the top, bottom and side pieces
- Paint the outer frame of the window.
- Make sure paint is dry before closing window.
Sash windows : This type of window usually has two panes, one on top of the other, with either just the bottom sash or both sashing able to open. If your window allows you to pop-out the sashes, do so as they will be easier to paint. Otherwise, follow these steps:
- Raise inner casement and lower outer casement. Paint bottom of outer casement.
- Reverse casement position and paint top of outer casement and then the inner casement.
- Paint frame and then finally sill.
- Wait for paint to dry before closing window.

Follow these simple steps to giving your baseboards a beautifully fresh coat of paint.
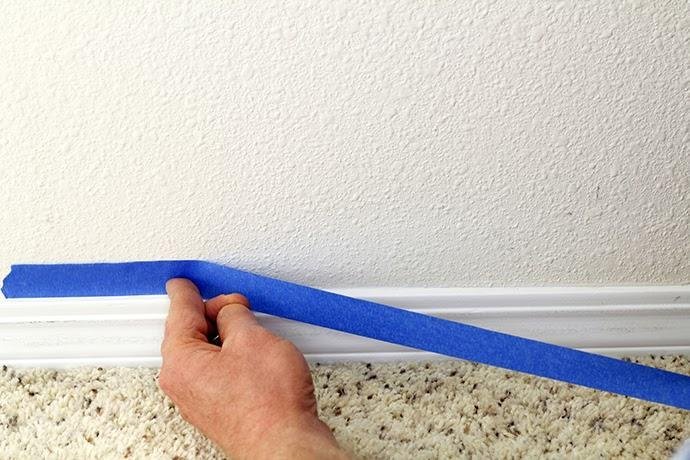
When painting baseboards, it is helpful to use 2” masking tape around the edges of the carpet. Place the tape on the carpet, taking care to pull back the fibers from the baseboard. Because this tape will not stick firmly to the carpet, it is best to let the paint dry before removing the tape.
You can also use a cardboard or plastic guide to protect walls and floors, while painting lengths of about 3’.
Paint the baseboard in this order for the best results: first the top then the bottom edge, and then the central section of the baseboard. Smooth out the unpainted portion in the direction of the painted portion.
Repeat the process to finish the job.

These steps to a beautifully stained deck will have you walking all over it in no time.
Stain in the Fall to protect over Winter
The exposure and wear on decks during the summer make it more practical to apply new coatings toward the end of the season. This also helps protect against excessive moisture during the fall rainy season and in winter snow. Moisture is a key factor in wear and tear, and this kind of regular maintenance will extend the life of your deck.
Stain in Spring before the heat of SummerTemperatures should range from 10C to 32C and out of direct sunlight so that stain has the time to penetrate wood before it dries.
Stain when the weather is dry
Before applying stain, wait at least 16 hours after a light rainfall, and wait 24 hours after a heavy rainfall or high-pressure cleaning.
Stain all exposed areas of your deck
It’s important to properly seal and protect the exposed ends of the wood, especially as they’re often close to the ground and tend to absorb more moisture. To properly coat the deck:
Ideally, wood decks should be stained prior to construction to ensure a seal on all edges and prevent moisture from penetrating the wood. Most decks, however, are painted or stained after they have been constructed.

Handy paint storage tips for during and after your paint project.
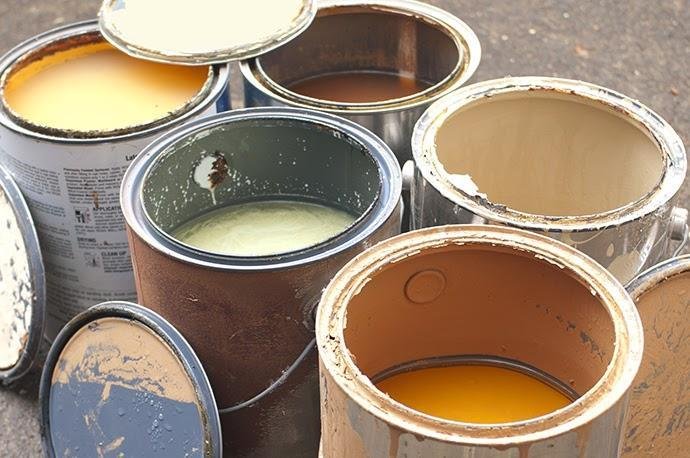
After opening a new can of paint, use a nail to drive about five or six holes around the rim where the lid sits. This will allow paint to drain back into the can instead of filling the rim. If the rim fills with paint, it is difficult to reseal the can.
When stored properly, an unopened can of latex or alkyd-based paint should have a shelf life of two years. The best storage for paint is in a cool, dry area, away from extreme hot and cold temperatures. Paint should never be allowed to freeze and should be stored away from furnaces and other heat-generating appliances.

Never pour paint down the drain – these are the correct ways to dispose of leftover paint and cans.
Any leftover paint, thinner or other chemicals should never be poured down the drain or otherwise disposed of carelessly.
Leftover paint in usable condition can be donated to churches, schools or other organizations. To determine if old paint is still usable, stir it with a paint stick and if the paint is smooth, it is still good!
Empty cans or those with a small amount of water-based paint in them should be left open and allowed to dry in a ventilated area, out of the reach of children and pets. Alkyd paints should be allowed to dry by adding absorbent material such as kitty litter.
Leftover paint can become dangerous if not disposed of correctly. Become familiar with the disposal procedures recommended in your municipality. Some make regular, scheduled pickups of household hazardous waste while some have recycling programs and drop-off depots.

Even a paint job that is perfect to start may some day need a touch-up or two.
The ability to touch up a painted surface depends on the gloss and colour of the product, the length of time it has been on the surface, and whether it is oil-based or latex.
Generally, flats touch up well. As a general rule, latex at all gloss levels will touch up better than alkyd because there is much less change in the gloss and colour of latex as it ages.
Avoid touch-ups in cold temperatures. When latex paint is applied in temperatures below 10C (50F) – for example, during colder months on new construction – the film-forming properties of the paint are adversely affected. This can cause the colour of the paint to be lighter than if it dries in warmer temperatures.
Use the same application tool that was used when the surface was done originally. Brushes and rollers leave different surface textures, the result being that if you use a brush to touch up a wall that has been rolled, the fix will be quite apparent.

Do you long for a dreamy spa-like bathroom and a relaxing bath at the end of the day? With the right paint colour, even the most humble bathroom can become a private retreat. Just remember to lock the door.
Whether you draw inspriation from a tropical paradise, a cozy ski chalet or even your own backyard, choose colours and accessories reminiscent of those memories. Even scents can be revived through a display of decorative soaps and lotions.
Sand and sea paint colours like ocean blues and earthy neutrals are good choices for a bathroom since they mimic the feel of a relaxing beach. With less wall space than other rooms, bathrooms are a perfect place to try more dramatic paint colours, especially medium-tones that deliver a spa-like effect. Monochromatic tone-on-tone colour schemes also help create a cozy oasis. The look can be brightened up with colourful towels, fresh flowers and accessories.

To avoid cleaning brushes and rollers in the middle of a project, wrap the brush or roller in aluminum foil overnight to prevent solvent from evaporating and the brush / roller from hardening. When the paint job is done, clean brushes and rollers of latex paint, use soap and water.
Synthetic (nylon) brushes should not be left standing on their bristles in solvent (either water or mineral spirits). The bristles will develop a permanent curl, rendering the brush useless. Brushes made from natural (hog) bristles should not be used in water-based or latex paints. These bristles absorb water and swell, destroying the shape of the brush.
Place paintbrush back in its original packing or put inside a newspaper folded in two. If you place paintbrush in a newspaper, flatten each edge and fold newspaper tight against the bristles. Next fasten the newspaper above the metal band that holds the bristles using a rubber band or a string. Then hang paintbrush by the hole in its handle or lay it out flat. Never stand paintbrush on the ends of its bristles.

